We made these trees for our wedding reception centerpieces. They looked amazing. Our guests loved them so much we almost gave them all away.. We did keep one though.
Here is a list of things you will need to make a mini tree with lights:
1. String LED's
2. Battery holder
3. Batteries
4. Sellotape
5. White florist tape
6. Pebbles
7. Piece of branch - this will be your mini tree
8. Basket
9. Prune scissors
10. Scissors
Instructions
1. Look for a branch you like. It should have lots of branch off points. Cut it to size with your prune scissors.

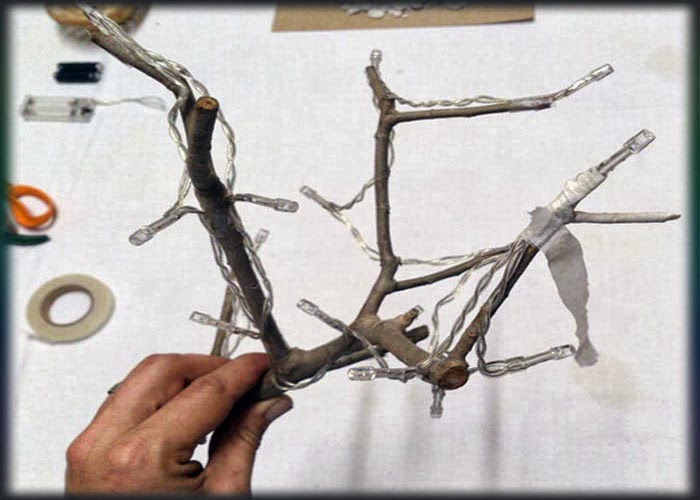
2. Take the string LEDs and tape it to your mini tree with the sellotape.
Work from the top downwards.
The battery holder should be at the bottom.
Now would also be a good time to check if all your LEDs are working... Just in case..

3. Take the florist tape and start to tape short lengths of tape to the mini tree to hide the wires.

4. Put the branch in the basket and fill basket up with pebbles.
We used white pebbles, but you can use any colour pebbles.
5. Connect battery box (if you haven't done so already) and insert the batteries...
6. Switch on and amaze your friends and family with your DIY mini tree with LED lights.
I love our mini tree, and so did or wedding guests...
Do you like our mini tree with lights?


No comments:
Post a Comment